Updated 2026 Guide to Optimizing Images for WordPress & Showit
Optimizing images isn’t just about smaller files anymore; it’s a performance, SEO, and user experience play that can impact everything from Google rankings to Core Web Vitals. Whether you’re interested in optimizing images for your WordPress or Showit site, let’s walk through why it matters and how to do it the right way today.
Why Image Optimization Still Matters in 2026
Fast, optimized images are about more than load speed — they can improve:
- Core Web Vitals, especially Largest Contentful Paint (LCP), often focus on the biggest image on your page.
- Search rankings are particularly affected by Google’s ongoing emphasis on performance metrics.
- User experience and engagement by reducing bounce rates.
- Bandwidth and storage usage are essential for blog media libraries.
In short, optimized images make your site faster, more user-friendly, and more competitive.
Standard Image Sizes for A Modern Day Website
What we use as standards for Showit and WordPress image optimization:
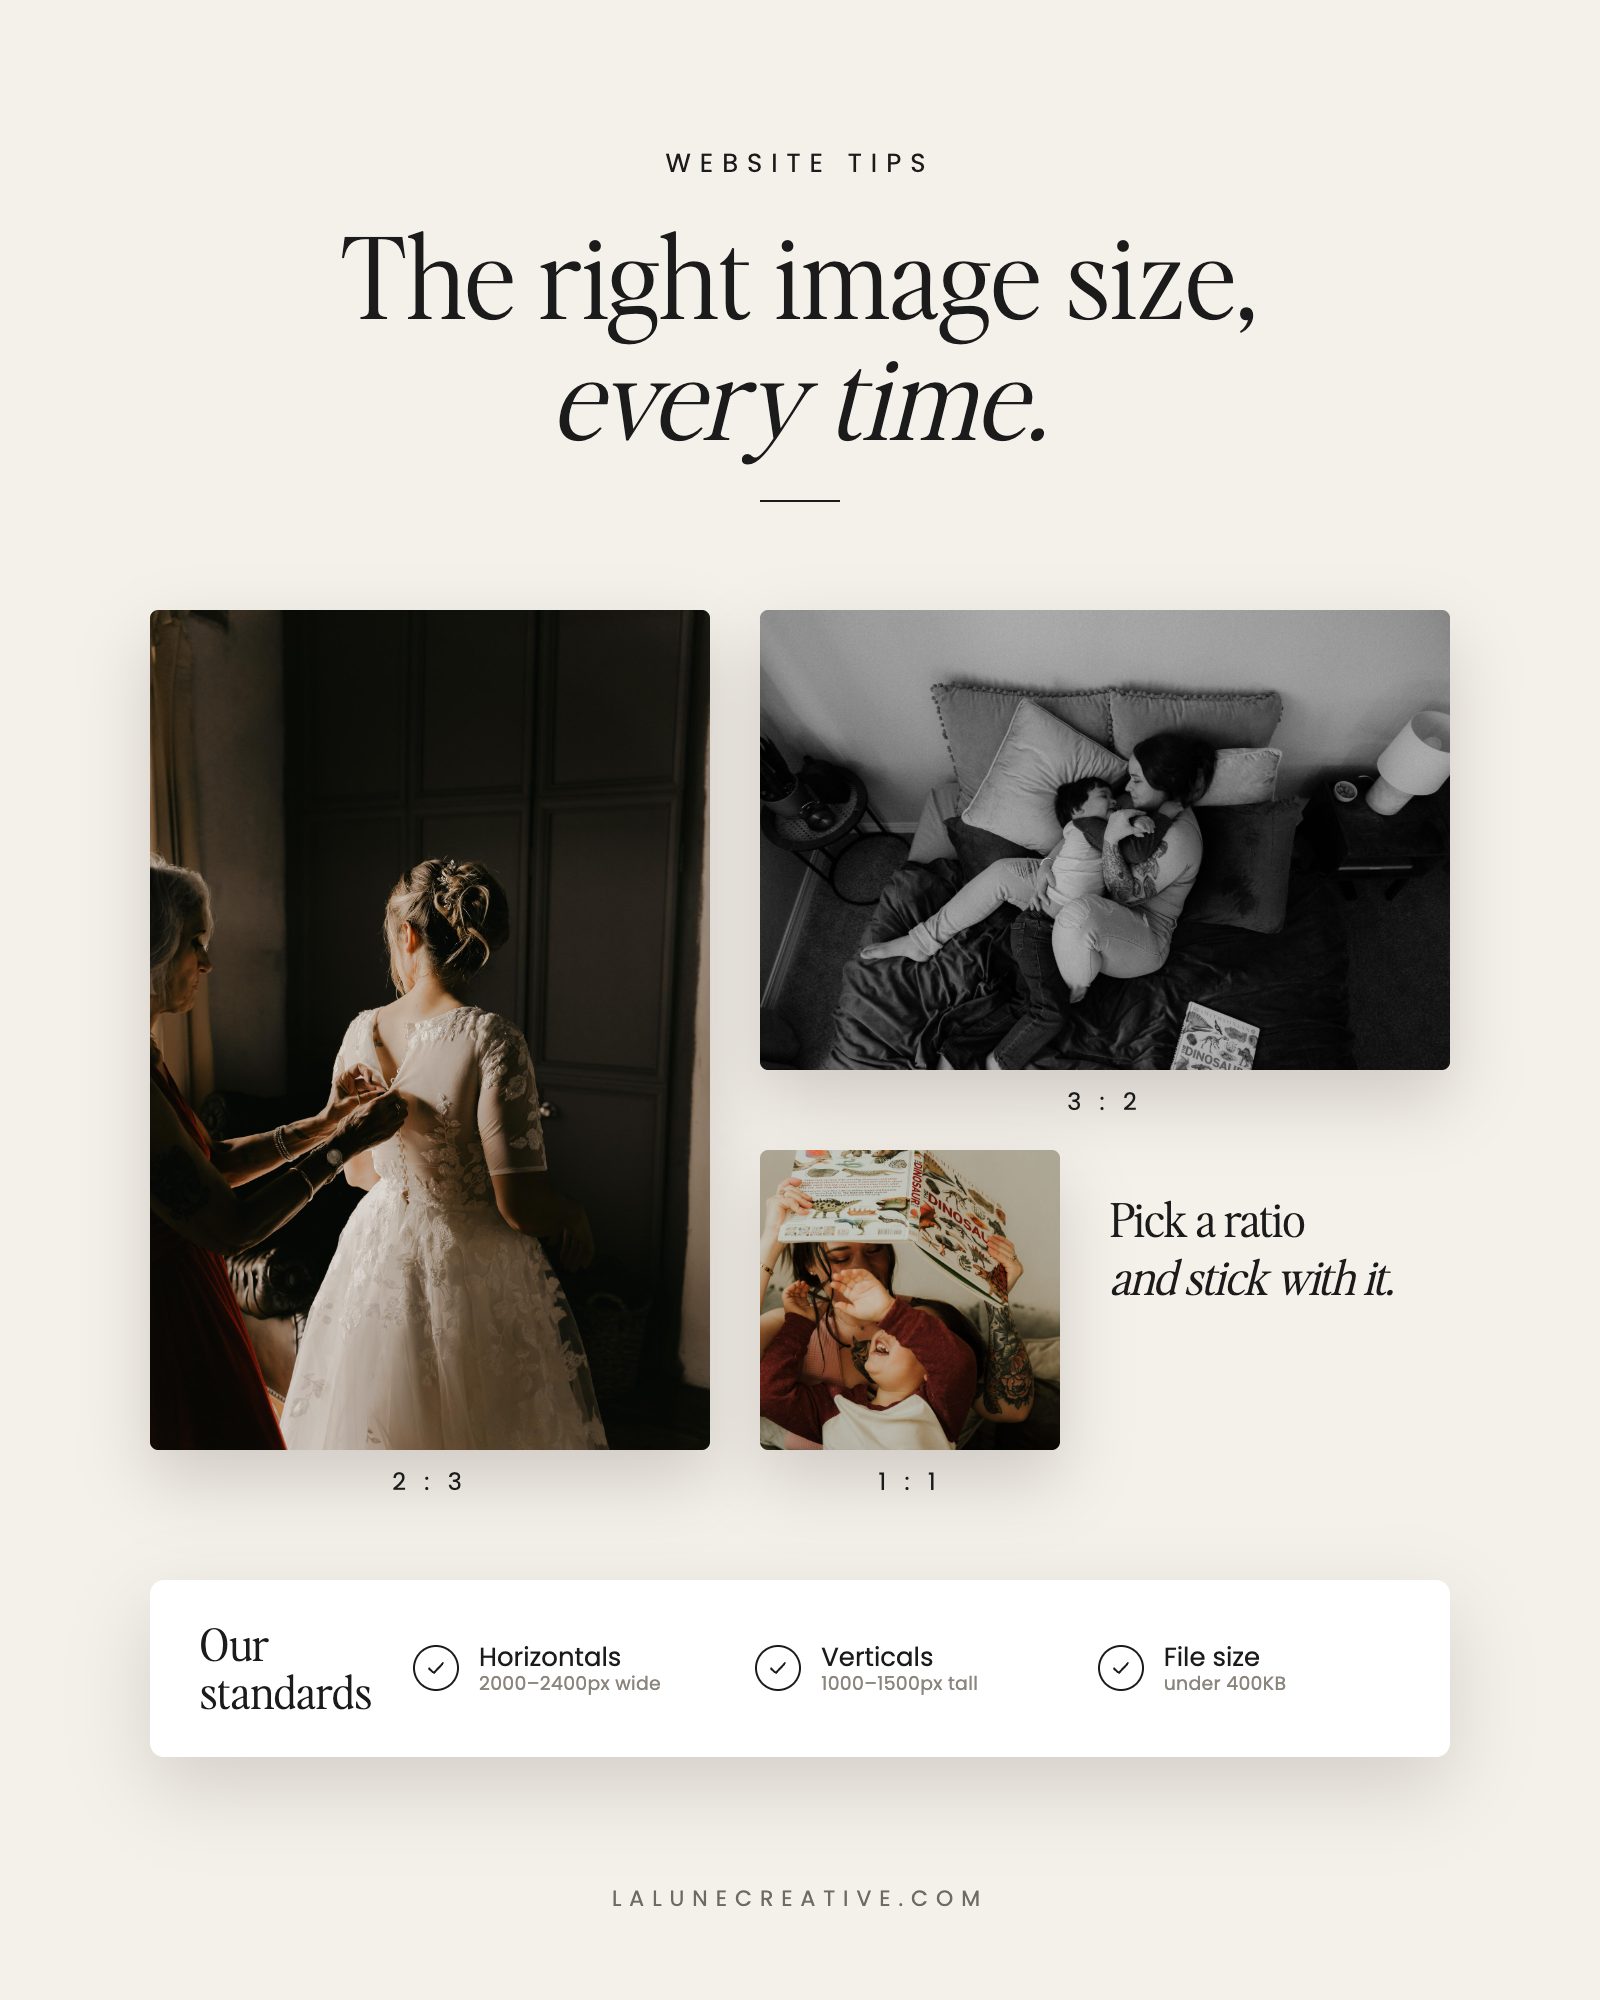
Horizontals: 2000 to 2400px on the long side at 72 DPI.
Verticals: 1000 to 1500px on the long side at 72 DPI.
Pro tip: If your site theme displays images at a maximum width of 1200–1400px, exporting larger than that only adds weight without benefit.
When dealing with horizontals, strive for a size of 2000 to 2400px on the long side at 72 DPI.
For verticals, target a range of 1000 to 1500px.
In Photoshop, you’ll want to edit with quality settings between 6-8, or Lightroom (utilizing compression ratios of 60-70%) can be the best for optimization.
The aim? Ensure your image file sizes stay below 400KB to keep your website loading swiftly and seamlessly!
What Size Should a Website Hero Image Be?
Your hero image (the large banner at the top of your home page) is usually the biggest image on your site, and often the one Google measures for Largest Contentful Paint. It needs to look sharp on large screens without slowing the page down.
- Full-width hero: 2400 × 1350px (a 16:9 ratio). Go up to 2560px wide only if most of your visitors are on large desktop monitors.
- Half-width or split hero: 1200 to 1600px on the long side.
- File size: aim for under 500KB. A hero that is several megabytes will noticeably slow your first impression.
- Mobile: plan a crop that still works as a tall rectangle. In Showit you can set a separate mobile crop, so keep your subject near the center of the frame.
If your hero is a slideshow, every slide counts toward page weight, so keep each slide to the same size and compression.
Consistency in Crop Ratios
Consistency matters just as much as image quality. When your photos share the same crop ratios, your website instantly feels more polished, intentional, and professionally designed.
Whether you’re working with a traditional 4×6 photography ratio or opting for more web-friendly formats like 1:1, 3:2, or 16:9, the key is choosing a ratio and sticking with it across galleries, grids, and sections. Mixing crop styles within the same layout often leads to uneven spacing, awkward alignment, and unpredictable results across different screen sizes. With Showit’s latest updates, you can upload all images at a standard ratio and crop directly within Showit now!
Because every website builder and device handles images slightly differently, consistent crop ratios help prevent gallery issues and ensure your images display cleanly and correctly on desktop, tablet, and mobile alike.
DPI: What Actually Matters For The Web
For web images, DPI doesn’t affect how they display on a screen. Modern screens ignore DPI entirely and render images based on pixel dimensions rather than resolution settings.
That means whether an image is saved at 72 DPI or 300 DPI, it will appear the same size and quality online if the pixel dimensions are identical. DPI only becomes relevant when an image is printed.
If your goal is to discourage high-quality printing of web images, the most effective approach isn’t lowering DPI, it’s limiting pixel dimensions. Smaller pixel sizes don’t contain enough data to produce sharp, large prints, regardless of the DPI setting.
In short:
- Web images: Focus on pixel compression, rather than dpi. Web images should always be saved at 72dpi.
- Print images: Always save them at 300 dpi or higher to ensure the best print quality.
This approach keeps your site fast, your images sharp online, and your clients’ galleries protected from unintended print use.
Trim Unnecessary Metadata (EXIF Data)
Image files often contain hidden metadata, such as camera settings, lens information, and even location data, that adds unnecessary weight to your images without providing any benefit on the web.
When exporting images from tools like Lightroom or Photoshop, you can safely remove most EXIF data to reduce file size. In most cases, keeping copyright information only is more than sufficient for web use.
Stripping excess metadata helps streamline your images, improve load performance, and avoid sharing information visitors never see or need without affecting visual quality.
A Reliable Tool for Quick Image Compression
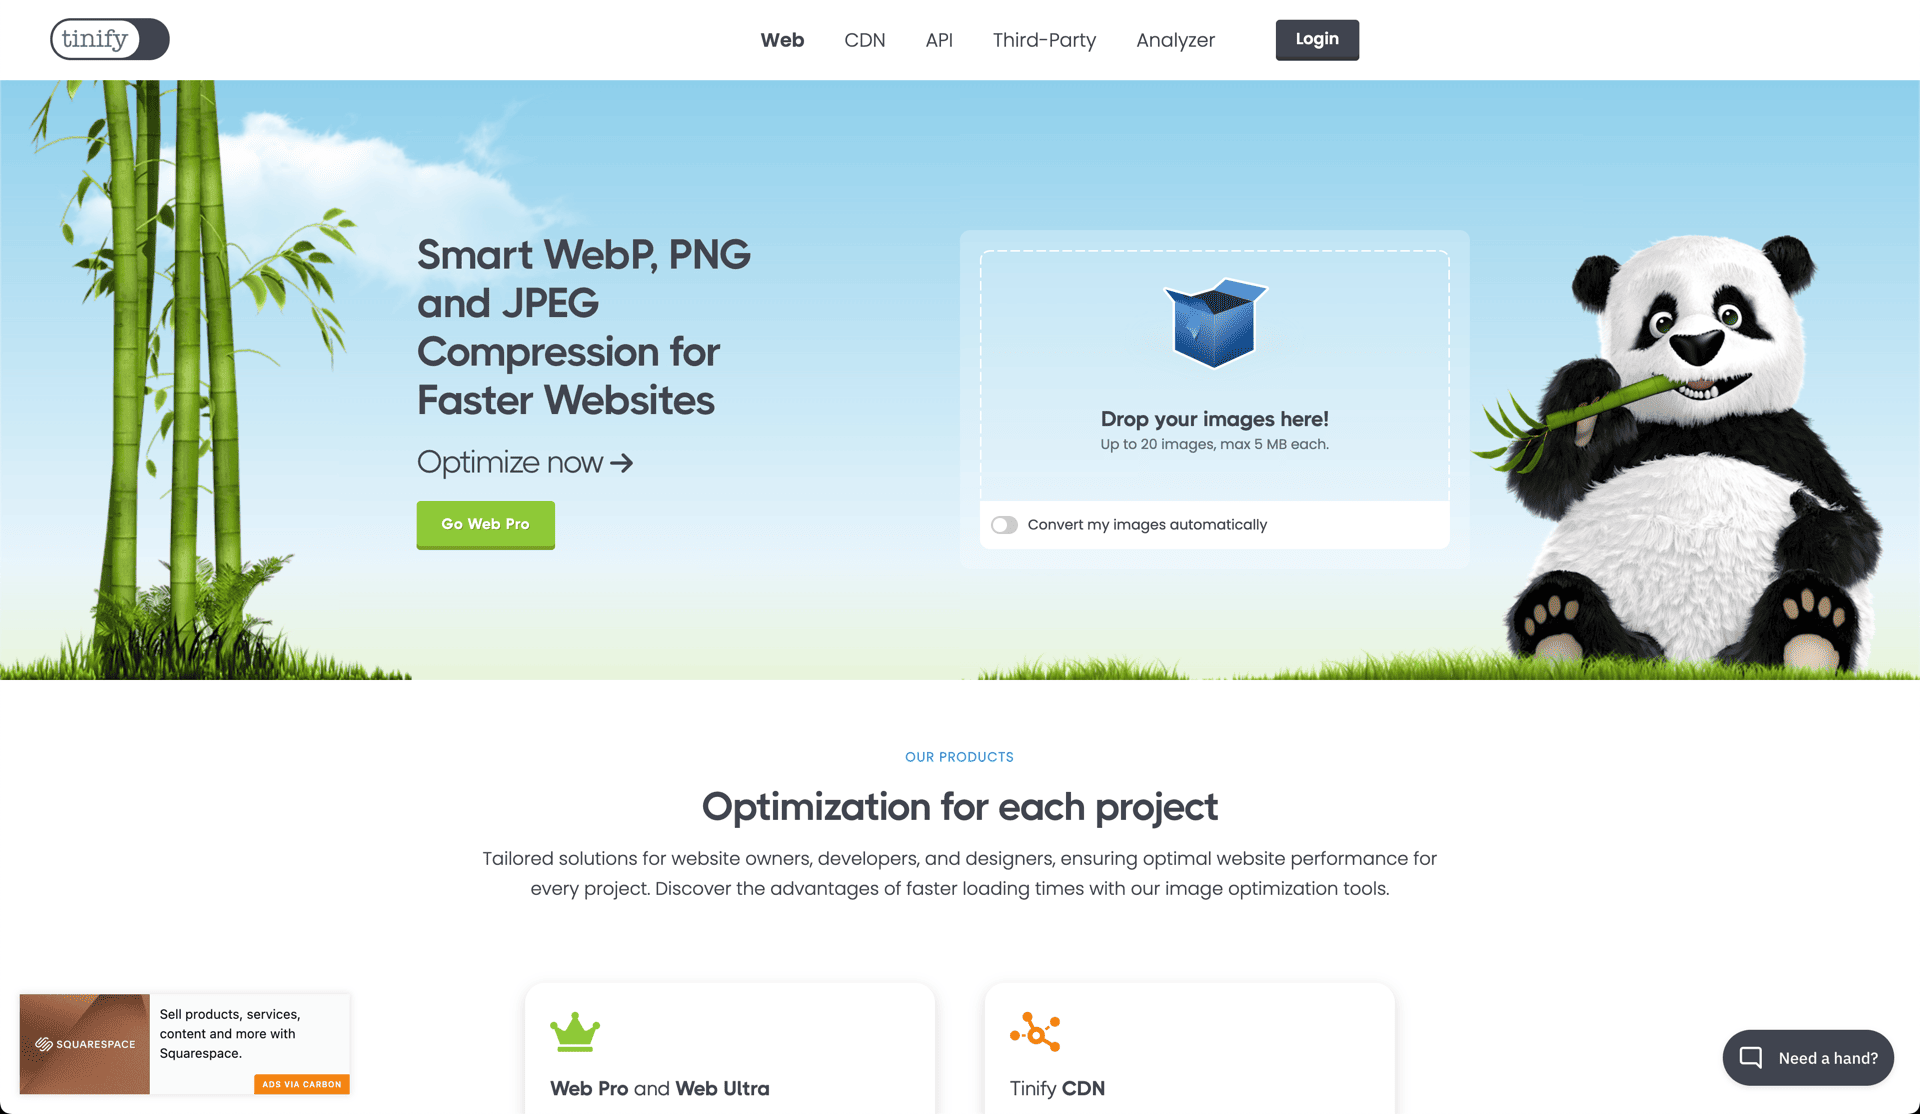
TinyJPG remains one of the most effective tools for quickly reducing image file sizes without noticeable quality loss. Its smart compression does an excellent job of balancing clarity and performance, making it ideal for everyday web use.
We regularly use TinyJPG for small batches of images when a fast, no setup solution is needed. For larger workflows, it also offers Photoshop plugins and API-based options that make bulk optimization more efficient. It’s a simple, dependable tool and still one of the best options available when you want strong compression with minimal effort. Drag and drop, let it do it’s thing and download, that’s it!
How to Reduce Image File Size Without Losing Quality
Most oversized images are too large in pixel dimensions, not just in file size. Fix that first, then compress:
- Resize to the size you actually need. Use the sizes above. A 6000px camera file shown at 1400px wide is carrying more than four times the data it needs.
- Export as a quality JPEG or WebP. A quality setting of 60 to 70% (6 to 8 in Photoshop) is usually indistinguishable from 100% on screen. WebP files are typically smaller still.
- Strip the metadata on export, as covered above.
- Run it through a compressor like TinyJPG for the final squeeze.
Following those four steps, most photos land between 150KB and 400KB with no visible difference to your visitors.
Why It All Matters
Speed matters. Even slight delays in page load time can have a measurable impact on user experience, engagement, and conversions. Image optimization is one of the simplest ways to improve performance without sacrificing design, and it’s often where the most significant gains are hiding.
By combining these techniques, proper sizing, modern formats, smart compression, consistent cropping, and clean exports, you can dramatically improve how your site loads and feels across all devices.
That’s the whole framework we use when optimizing images for WordPress and Showit sites. If you’ve ever struggled with slow pages, awkward galleries, or the challenge of using high-quality imagery without hurting performance, these strategies will help you strike the right balance between beauty and speed.
Image Size FAQ
What DPI should web images be?
72 DPI is the standard, but DPI has no effect on how an image looks on a screen. Pixel dimensions are what matter. Save web images at 72 DPI and prints at 300 DPI.
What size should a hero image be?
About 2400 × 1350px for a full-width hero, kept under 500KB.
How big should image files be for a website?
Under 400KB for most images, and under 500KB for a full-width hero. Smaller images like thumbnails can often be under 100KB.
Should I use WebP images?
Yes, if your platform supports them. WebP files are usually smaller than JPEGs at the same quality, and all modern browsers display them.
Does Showit resize images for me?
Showit serves scaled-down versions of your images to smaller screens, but it still starts from the file you upload. Uploading an image that is already the right size and compressed keeps every version lighter.
Want someone to keep your site fast for you?
Image sizes are only one piece of a fast website. If your Showit blog or WordPress site runs on plugins, themes, and updates you would rather not think about, Watchlight handles it for you every week: updates, daily backups, security and uptime checks, database and image optimization, and a monthly report. If your site already feels slow or neglected, Emberlight is a one-time deep clean and speed audit to get it back in shape.
Sources on speed metrics: CloudFlare, HubSpot
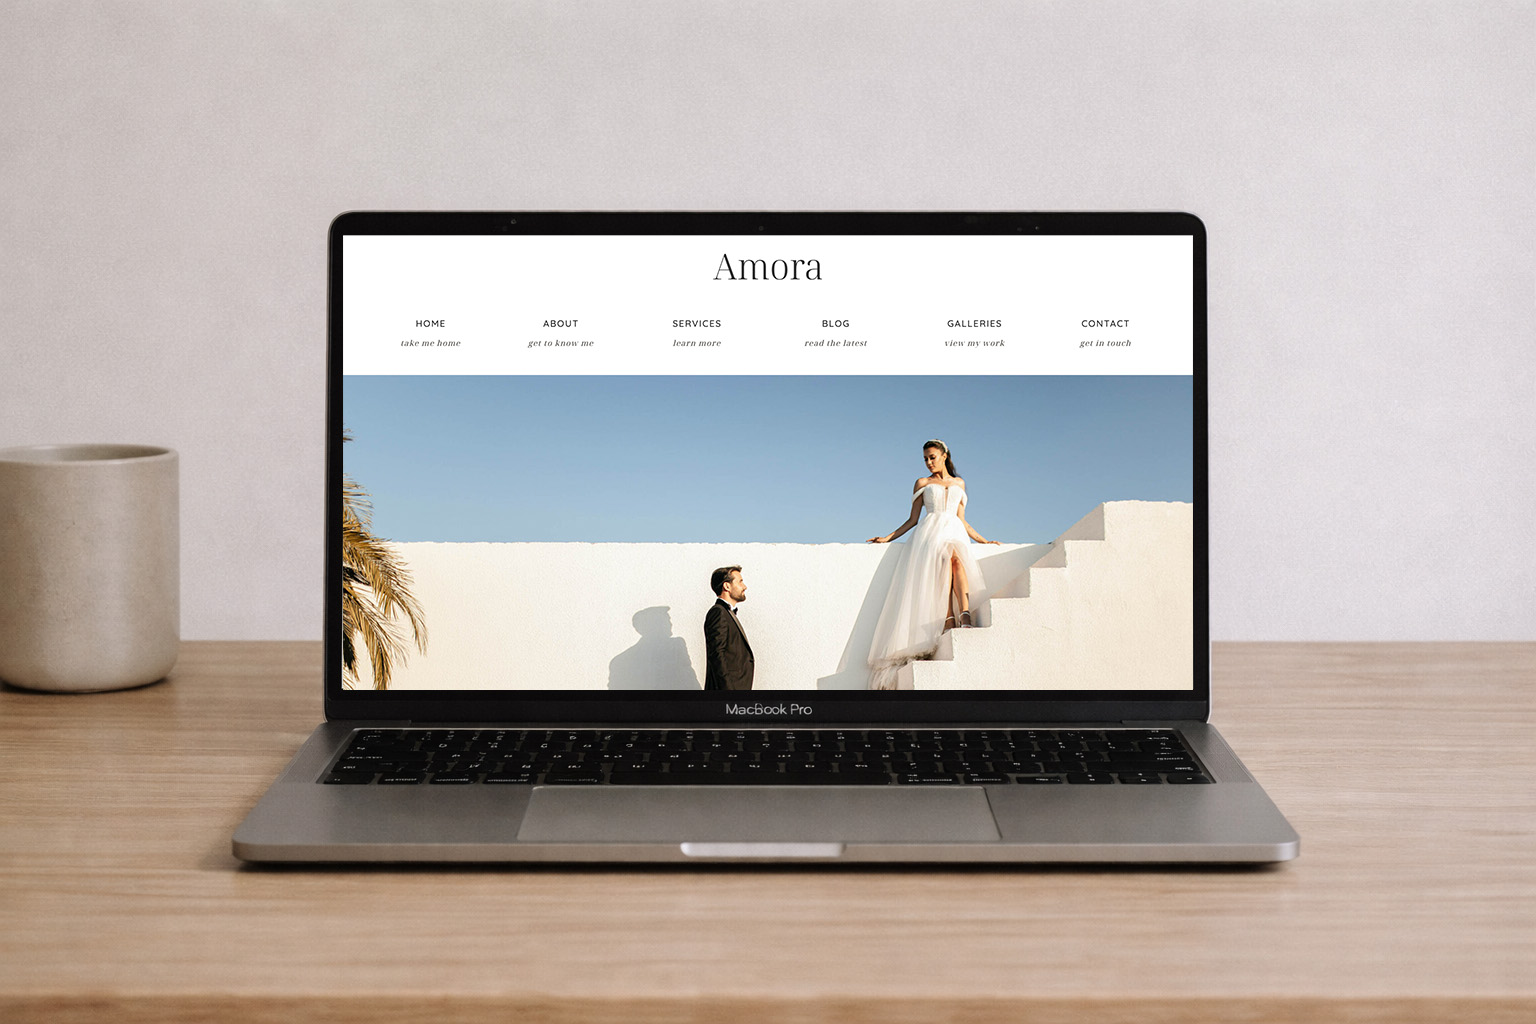
If you’re building a new Showit site, our Showit website templates give you a head start, from Amora for wedding photographers to Helios for salons and stylists.