
Optimizing Images For Your WordPress or Showit Site
Optimizing Images for Your WordPress or Showit Site: Elevate Your Website’s Performance
Do you find yourself lost in the labyrinth of image sizes for your website? Let’s unravel this puzzle together! Optimizing images for your WordPress or Showit site doesn’t have to be overly complicated; it can be straightforward and impactful.
Standard Image Sizes: A Blueprint for Clarity
What we use as standards for Showit and WordPress image optimization:
Horizontals: 2500px on the long side at 72 DPI.
Verticals: 1000 to 1500px on the long side at 72 DPI.
When dealing with horizontals, strive for a size of 2500px on the long side at 72 DPI.
For verticals, target a range of 1000 to 1500px.
In Photoshop, you’ll want to edit with quality settings between 6-8, or Lightroom (utilizing compression ratios of 60-70%) can be the best for optimization.
The aim? Ensure your image file sizes stay below 400KB, contributing to a website that loads swiftly and seamlessly!
Consistency in Crop Ratios
Consistency is key in web design and photo cropping. Whether adhering to the classic 4×6 ratio in photography or embracing the web-friendly 1:1, 3:2, or 16:9 ratios in web design, following these norms for all your photo uploads elevates the professional appeal of your site. Consistency is key to avoiding website gallery errors that may not look correct across all screens since every app and website builder does things differently.
Simplifying DPI Choices for Clarity
For web images, opt for the standard 72 DPI resolution, reserving the higher 300 DPI resolution for printing needs. Neither one changes the actual size of the photo, but if you want to stave off that pesky grandma from stealing and printing your favorite client’s wedding photos, saving at 72 is your safest bet so they can’t print a good quality image.
Smart Meta Data Changes Can Equal Smaller File Efficiency
Trimming metadata (EXIF data) reduces file sizes and streamlines essential information. In Lightroom and Photoshop, you can opt only to include the copyright data so that the file size is smaller.
Leveraging the Magic of Web Apps for Efficiency
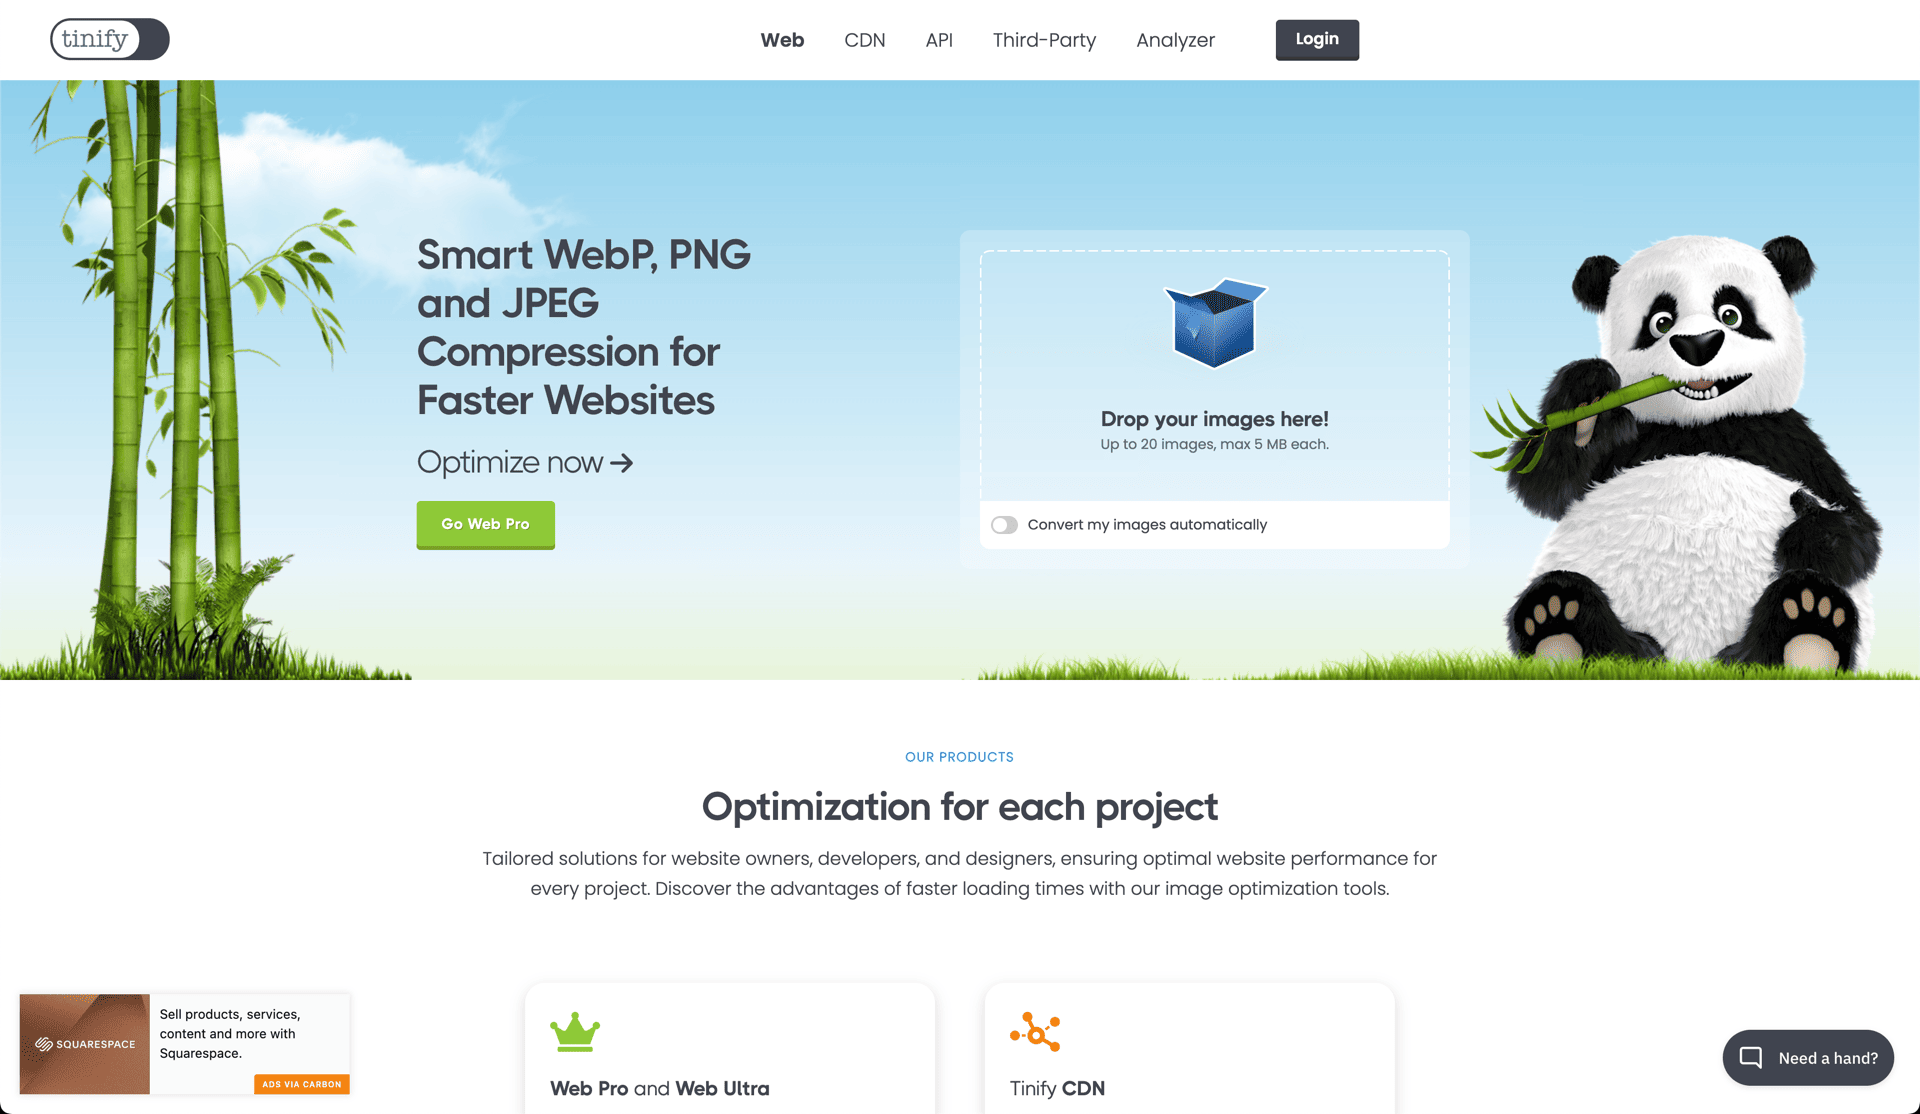
The wonders of TinyPNG’s website are worth looking at! Its unique algorithm seamlessly trims down image sizes without compromising their visual integrity. We use this web app constantly for small batches of images, but they offer Photoshop plugins and more for bulk usage. This does a better job than any other option on this list.
Built-in WordPress Optimization
ShortPixel is one of our favorites for having a built-in option in WordPress without using a photo editor or any other app. However, they also have an online image optimizer. What shines is the WordPress plugin that does all the magic on the fly as you upload images. You can also have it go back and optimize images uploaded as far back as your WordPress site has existed. It’s a great tool if you don’t have easy access to a photo editor app or want to do small batches of photos online.
Unpacking the Significance of Optimization
Time is of the essence! Studies reveal that even a fractional delay significantly impacts website sales. By amalgamating these methods, you can significantly enhance your site’s performance.
There you have it! Our secret recipe for optimizing images on WordPress or Showit sites. Implement these strategies if you’ve been grappling with the challenges of incorporating full-resolution images onto your site.
Sources on speed metrics: CloudFlare, HubSpot

